Classic Salmon and Trout Flies
of Europe and the Americas |
 |
The Wonder Wing and Wally Wing
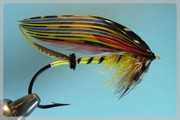
I like flies with wings. Whether wet or dry, a beautiful set of wings makes me happy. I've heard all the arguments, but find myself firmly in the Vince Marinaro camp. I agree with him when he talks of the importance of wings on dry flies. A gorgeous set of dry fly wings can be created with nothing more than small breast feathers, hackle, or good quality CDC, using the Wonder Wing and Wally Wing Techniques. First I should talk about the difference between the Wally Wing and the Wonder Wing. A set of Wonder Wings is made from two hackles or other feathers, a set of Wally Wings from one. Here is a typical Wonder Wing parachute:
Parachute Wonder Wing Flav
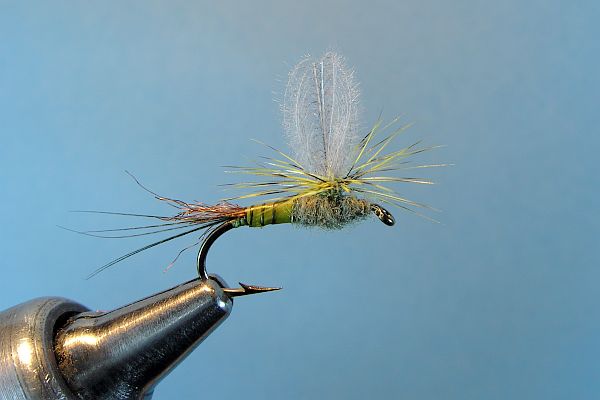
Here is the same fly with Wally Wings:
Parachute Wally Wing Flav
The thing that these wings have in common is that the winging feather in each case has the hackle,
CDC, or breast feather pulled back to form the wing thus:
Reverse Hackle
Wonder Wings are made from two of these feathers, the Wally Wing is made using just one Wonder Wing, then splitting it.
Canadian fly tier Wally Lutz developed the Wally Wing in the '70s. I think that his technique lends itself nicely to smaller flies, while the Wonder Wing works well in larger sizes. Both can accomplish most fly sizes however, and it really comes down to the look you want to get. The Wonder Wing has been around awhile, and I did not, contrary to some assumptions that have been made by people reading this article, invent the technique. A professional tier who utilizes this technique quite a bit is Al Beatty, but I doubt he'll claim the patent either.
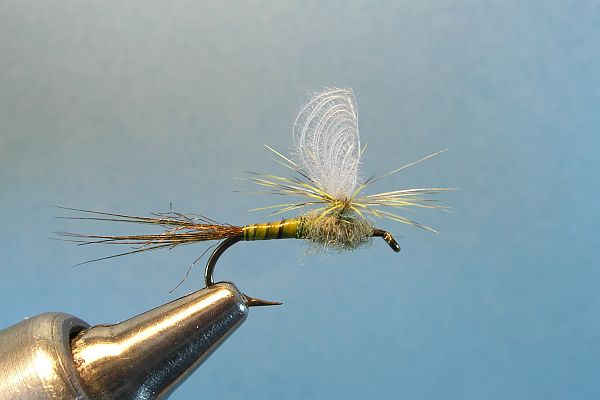
Here's a fly that I do that uses both techniques. The wings are Wally Wings, and the tail and extended body is a single
Wonder Wing with some fibers left on to make the tail:
Wally Wing Extended Body PMD
Either type of reverse hackled wing is surprisingly robust, and will stand up to several fish quite nicely, even though they may look very delicate.
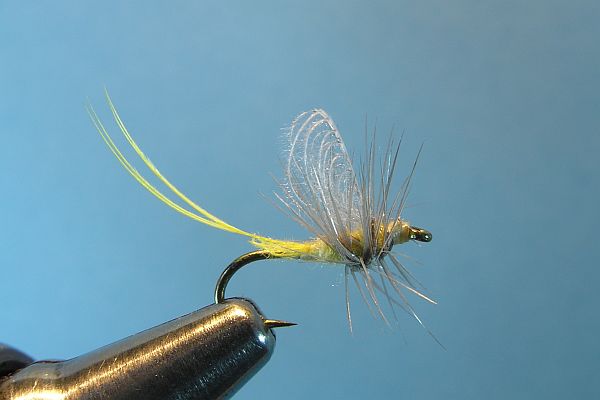
I'll show a step-by-step here of the fly that I've developed that is an amalgam of several different
techniques. This is a Wally Wing Extended Body PMD, tied on a #18 TMC 100 hook. I've bent the hook
slightly, borrowing a technique used in a fly called the "Z Dun" which enables the fly to ride with its head
up off the water like a real dun. I begin by tying in a CDC Wonder Wing, which extends out over the eye,
concave side of the feather up. I tie this in half way up the front, bent section of the hook.
This one feather will later become the two Wally Wings.
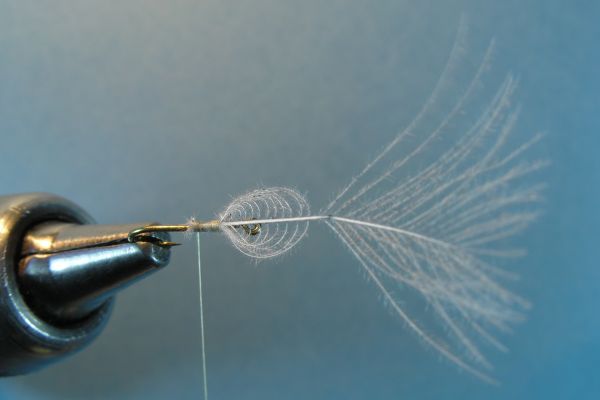
Wally Wing Tied On
I've used an extended body and tail made from a reversed wood duck breast feather hackle. I want the tail to ride
off the water as well as the head. Any very curved, very small breast feather works well, especially
mallard. Here's how the fly looks with just the tail tied in. First, I pull the fibers back on the small breast feather thus:
Tail Breast Feather
Here's the fly with the tail tied in:
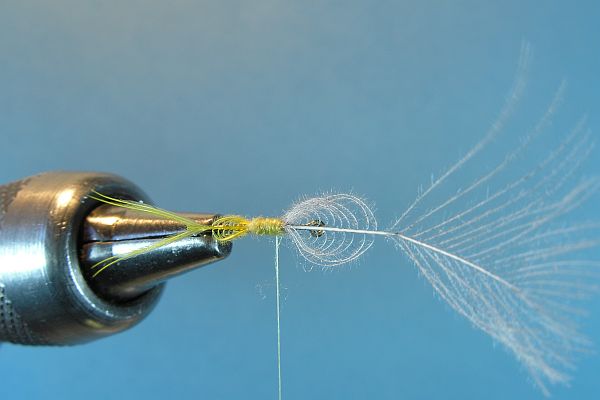
Wonder Wing Tail
Notice how I've created a mini Wonder Wing, with the "wing" becoming an extended body. I then notch out the tail, leaving two fibers on a side. The Wonder Wing tail and extended body form a unit that floats amazingly well, even though the tails have only four fibers total. Any small waterfowl breast feather can be used to form this body/tail assembly.
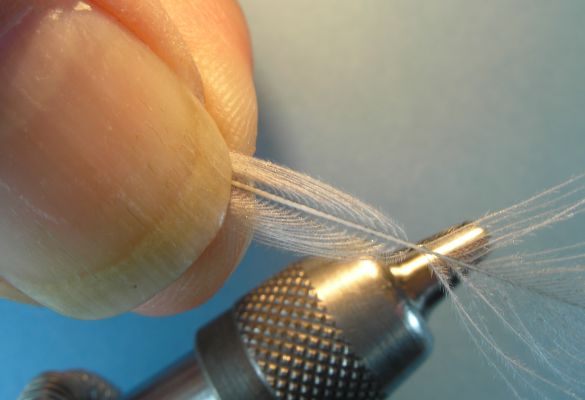
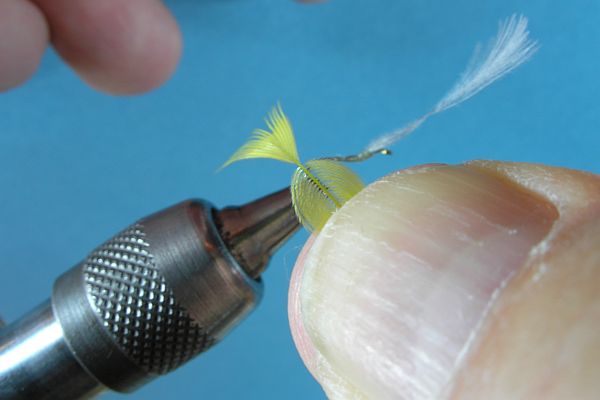
I now dub up to the bend I've made in the hook. It's time to form the Wally Wings. I grasp the tip of the stem of the breast feather in my right hand, and fibers to the left of it in my left. I then slowly pull the fibers away with my left, holding onto the tip of the stem with my right. They should peel away, taking part of the stem with them, forming the far wing.
I'll then do the same with the right, again holding the stem:
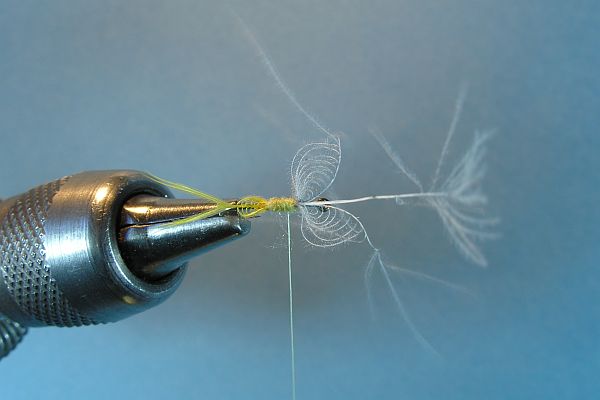
Initial Wings
I then cut away the remaining stem, and post the wings up and back, holding them together in my left hand as I do this.
Finally, I'll tie in a hackle right behind the wings, sized to the hook size, and dub the remaining thorax area with
PMD dubbing. I then wind two turns of hackle behind the wings, at an angle slanting forward on the bottom, and one in
front of the wings. I want some of the "legs" to stick out in front of the fly. I then cut the bottom of the hackle
flush with the body. This is the resulting look:
Wally Wing Extended Body PMD
This fly will float nicely with its head and tail out of the water, and it is quite visible. It has an extremely accurate profile, and is a good example of what you can achieve by melding several well-established techniques. No need to re-invent the wheel really, it's all been done before. Now for the best part: It floats better than a no-hackle. Here's the recipe:
Thread: Yellow
Wings: One light dun CDC feather, tied in as a Wing, split to form two Wally Wings
Tail: Wood duck or mallard breast feather dyed yellow, with fibers pulled back to form an extended body, with a "V" cut out of the resulting tail. Assembly is tied in concave side up, so the tails curve upward. I've used mallard breast feathers that were not dyed and they work fine as well. Since these were wood duck breast feathers, pure white, I dyed them.
Dubbing: Fine PMD dubbing
Hackle: Dun, sized to hook, cut off flush with hook on bottom.
Background image from "Trout" by Bergman (1938)