Classic Salmon and Trout Flies
of Europe and the Americas |
 |
The Pre-Hatch Baetis Step by
Step
The Pre-Hatch Baetis is a fly I developed to solve a
particular problem at Nelson's Spring Creek in
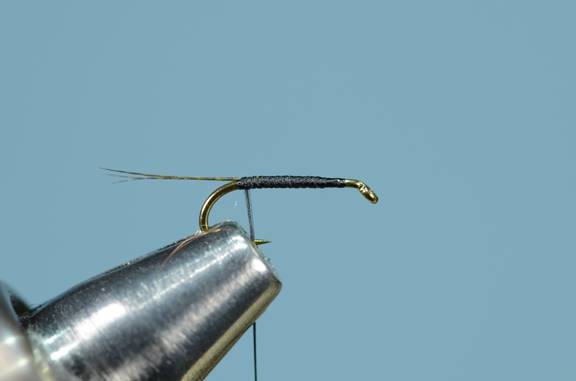
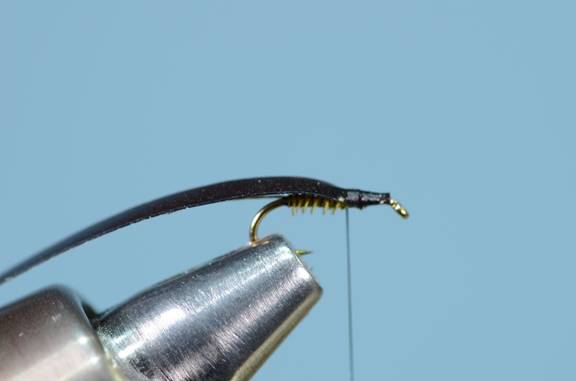
Step 1.
Take the thread to the bend and tie in a tail of olive-dyed dark bronze mallard flank feather strands. If you don't dye materials, just use bronze mallard, it works fine as well. Bind the butts down by wrapping forward, then wrap back to the bend.
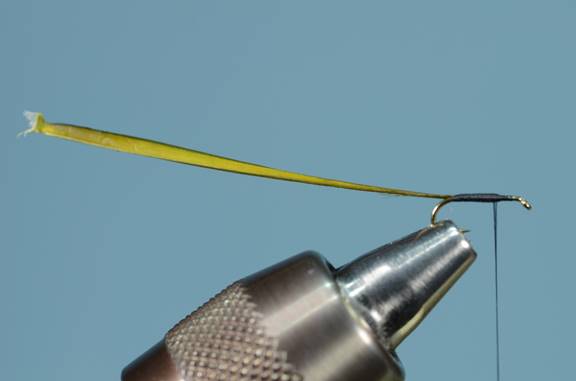
Step 2.
Tie in a single strand of the "long" side of a left turkey
quill. Tie in on the far side of the hook, concave side toward the hook. If we
were using a strand from the biot side of the
feather, the notch would be down. However, because this strand is from the non-biot side, the notch will be up, and when wound, the body
will have a rough segmentation.
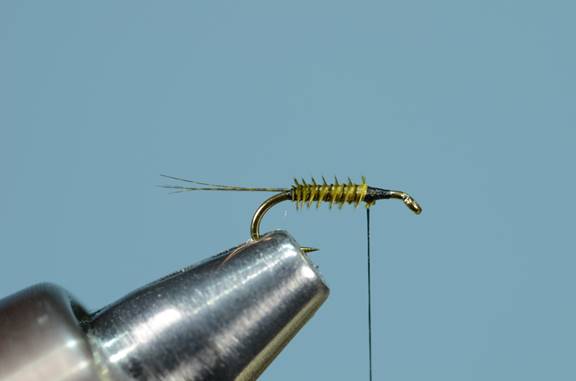
Step 3.
Wind the biot forward and tie off
at about the 1/3 point of the shank. .
Step 4.
Cut a strip of black Thin Skin that's about a hook gap wide
and tie it in. Bind down the Thin Skin back over the previously wound quill a
little so when it's folded forward it will take up about 40% of the shank.
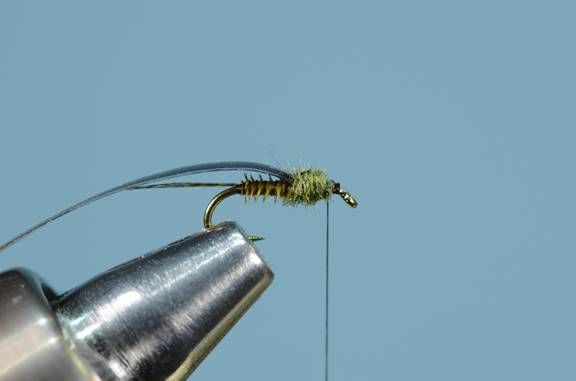
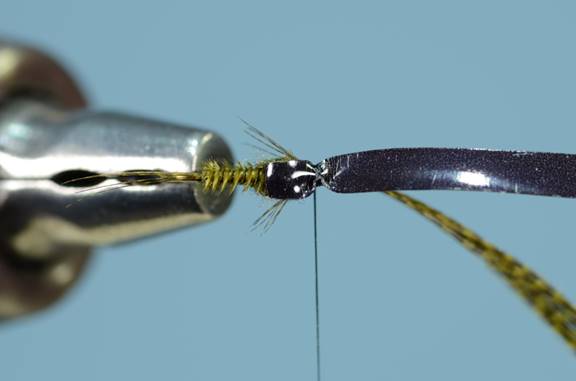
Step 5.
Dub a robust thorax with Olive Super Fine or some other fine dubbing that compacts well. Leave room in front of the ball, about three or four thread wraps worth.
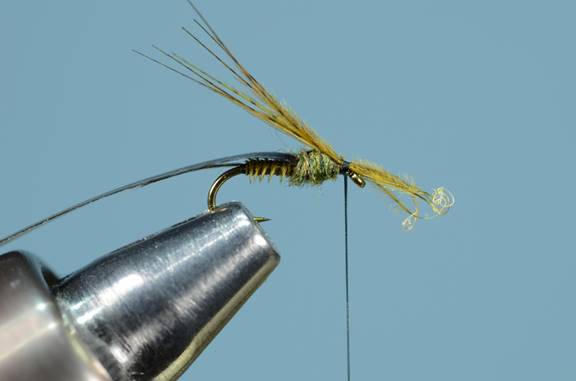
Step 6.
Tie in 6-8 olive-dyed bronze mallard fibers, tips facing the
bend. Bind down with three wraps only.
Step 7.
Fold the Thin Skin forward and trap with one wrap behind the
butts, one in front, and one more behind.
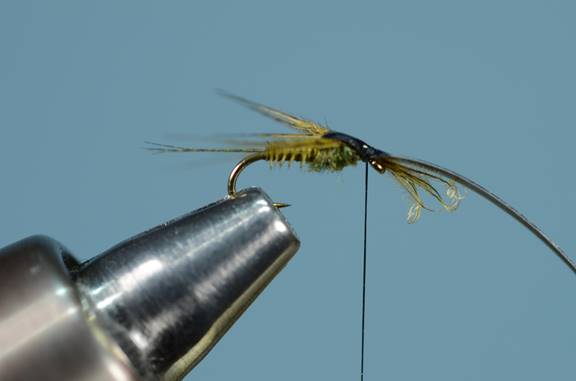
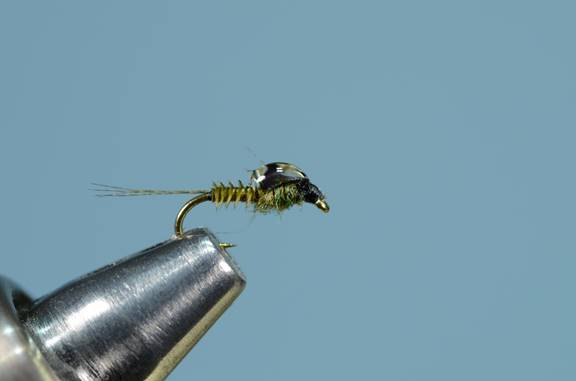
Step 8.
Pull the butts of the bronze mallard forward slowly, pulling
the legs to length, just a bit longer than the thorax.
Step 9.
Cut off the butts, wind a head and whip finish. Apply head
cement to the thread wraps.
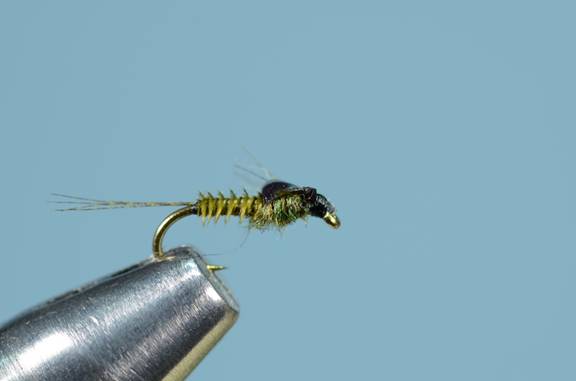
Step 10.
Put a drop of Epoxy or Clear Cure Goo on top of the thin
skin. I like to start it slightly behind the thorax, so it gets into the body a
bit, and work the drop forward, avoiding the eye completely.
Step 11.
If you used Clear Cure or some other resin that's cured with
a UV lamp, finish it with a coat of Sally Hanson's to get rid of the tacky
feel.
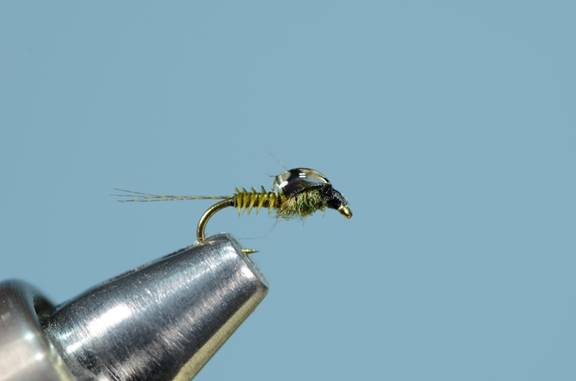
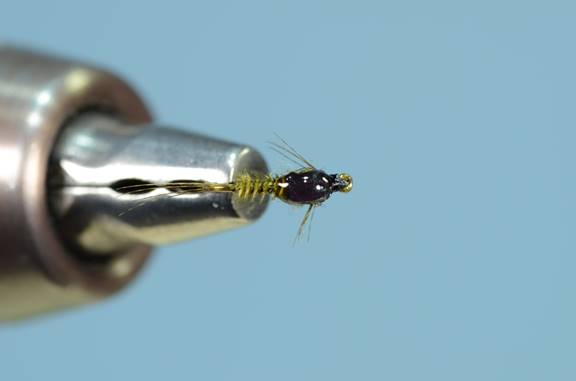
Step 12.
Here's what it should look like from the top. Note the bulbous thorax. I believe that the large thorax and the legs contribute a great deal to the effectiveness of this fly. Only the trout know for sure.
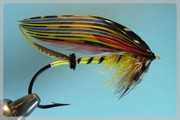
Background image from "Trout" by Bergman (1938)